The crust of a pie is what makes or breaks the pie experience. The crust is the foundation, it supports the filling- it needs to be strong while also delicate, tender & flaky. Achieving these attributes with a gluten free pie crust has proven to be quite a challenge.
Over the years, I have made a fair amount of gluten free pie crust, always looking for the right combination of ingredients and techniques that will yield the attributes associated with the perfect crust. This recipe meets the mark.
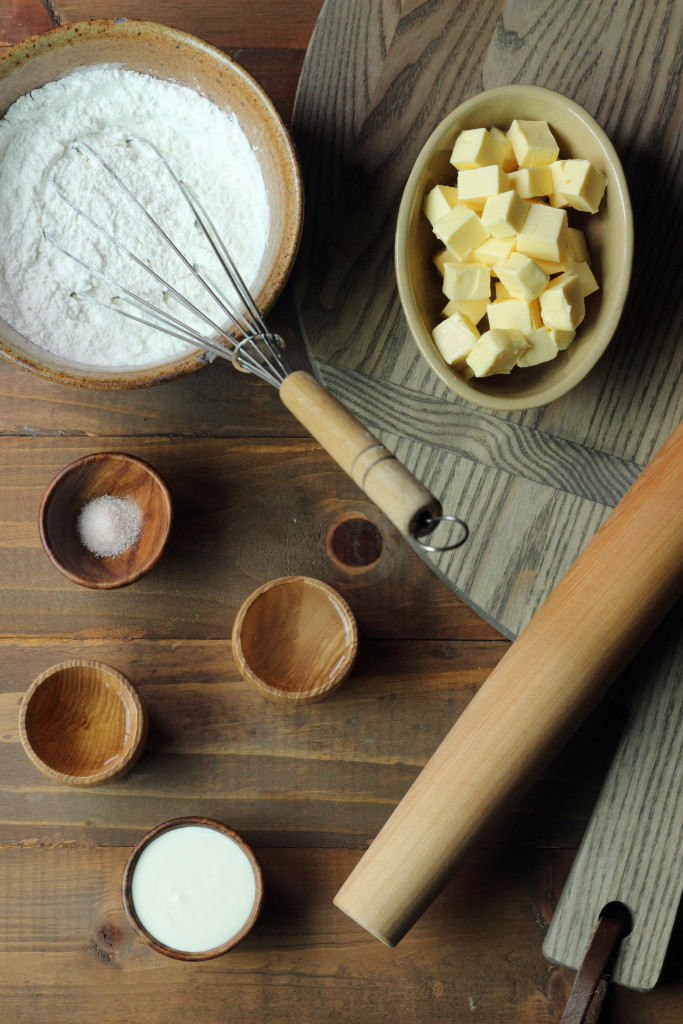
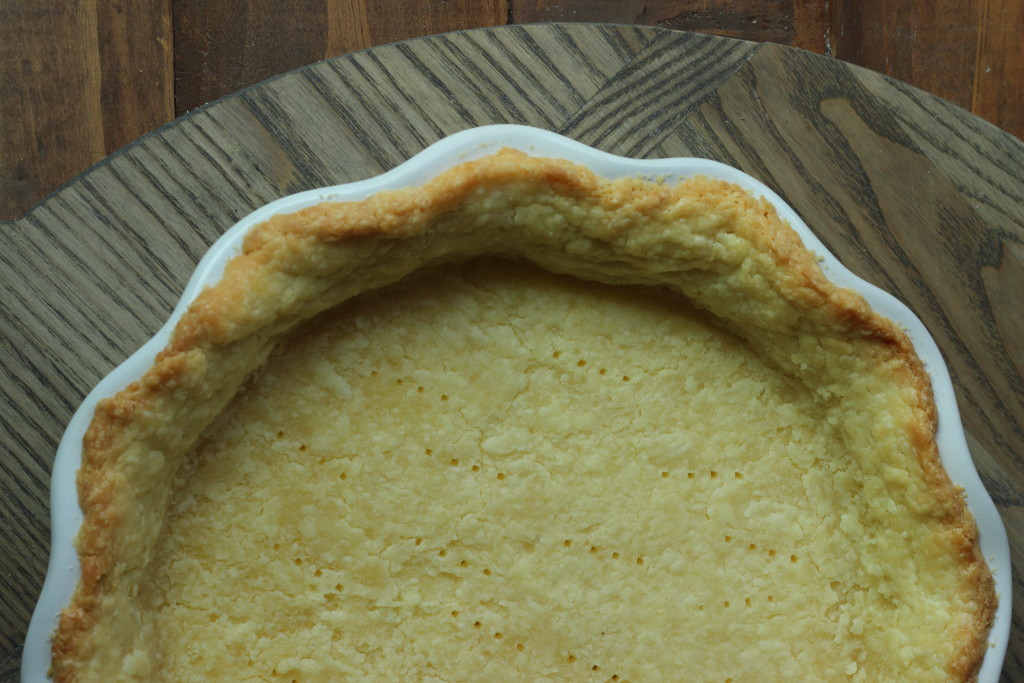
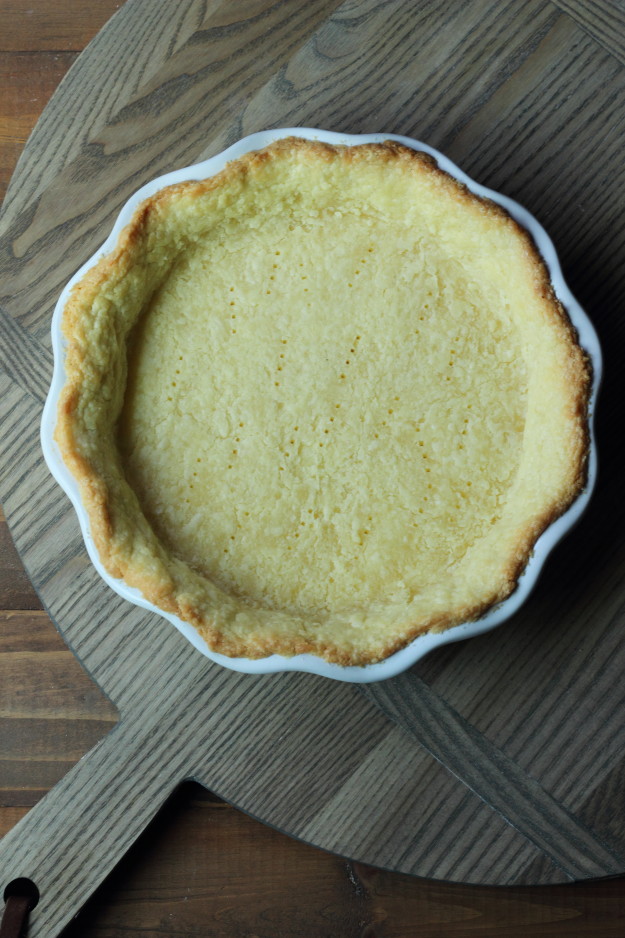
Adapted from America’s Test Kitchen, this recipe has the spot on balance of moisture and fat to flour- resulting in a tender and flaky gluten free pie crust, something I have been trying to accomplish for some time.
After trying to prepare gluten free pie crust in a food processor, as some recipes suggest, I have settled on doing it by hand- the old fashioned way. I have found that the results are always better when I make it by hand, the crust has more of a personal connection in it. The handmade touch is something that a machine can never replicate, at least not for gluten free pie crust.
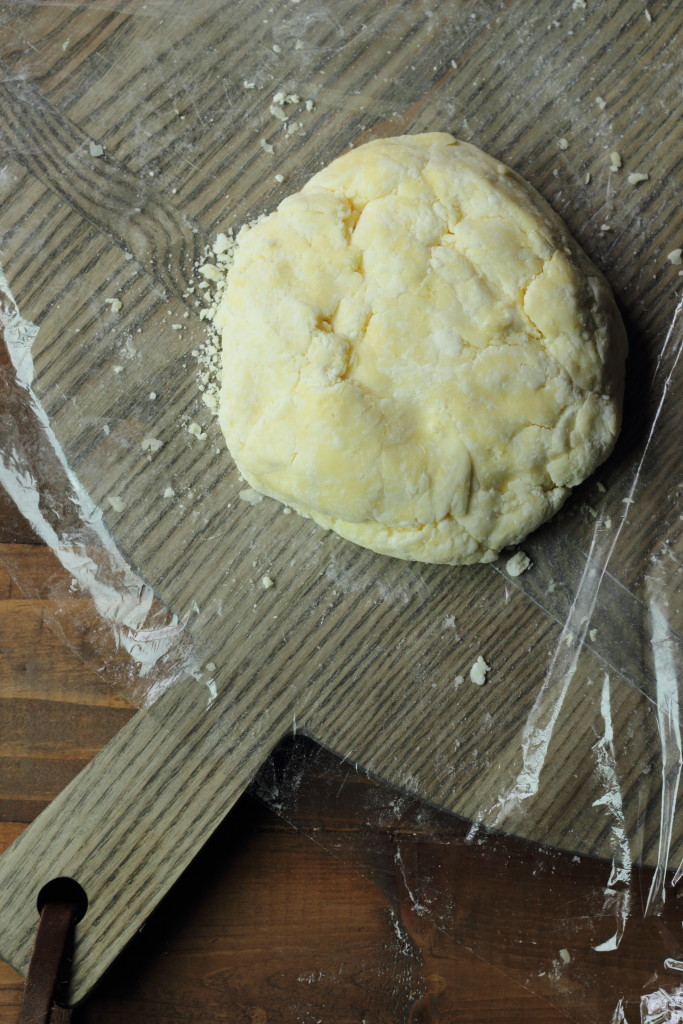
Making pastry is an art- it is a skill you can only learn by doing- practice does indeed make perfect when it comes to pie crust. Trust the instructions and the quantities of this recipe- it works. The dough will seem dry when you wrap it in plastic before you place it in the refrigerator to rest- resist the urge to add more liquid or overwork the dough. The hour that the crust spends in the refrigerator gives it time to absorb the moisture. As finicky as the dough may seem, it is really forgiving in the end. Cold is your friend when it comes to pie crust- the colder everything stays, the better end result you will achieve. A kitchen scale is paramount to success with baking & pastry making in general- when you weigh your ingredients you are guaranteed to get the intended results of the recipe- every time.
A good gluten free pie crust is possible. With this recipe in our arsenal, we have the ability to enjoy whatever pies our hearts desire, without the gluten or wheat and without sacrificing all the goodness of what makes pie crust so delectable.
 Print
PrintGLUTEN FREE PIE CRUST
- Total Time: 1 hour 40 minutes
- Yield: 1 single pie crust 1x
Ingredients
- 152g basic gluten free flour blend
- 15g arrowroot flour
- 20g non fat dry milk powder
- OR substitute 187g Cup4Cup in place of the above ingredients
- 1/4 tsp fine grain salt
- 1/4 tsp xantham gum
- 25g ice water (2.5 tbsp)
- 30g sour cream (1.5 tbsp)
- 8g rice vinegar (1.5 tsp)
- 112g unsalted butter (8 tbsp) – cut into 1/2 in cubes & chilled
- 1 tbsp heavy cream
basic gluten free flour blend
- yields: 140g = 1 cup
- 98g superfine white rice flour (70%)
- 25g potato starch (18%)
- 17g tapioca starch (12%)
Instructions
- Put diced butter in a bowl & into the freezer to chill before you begin to prepare your other ingredients
- Blend basic gluten free flour, arrowroot flour, non fat dry milk powder, salt & xantham gum in a bowl with a whisk
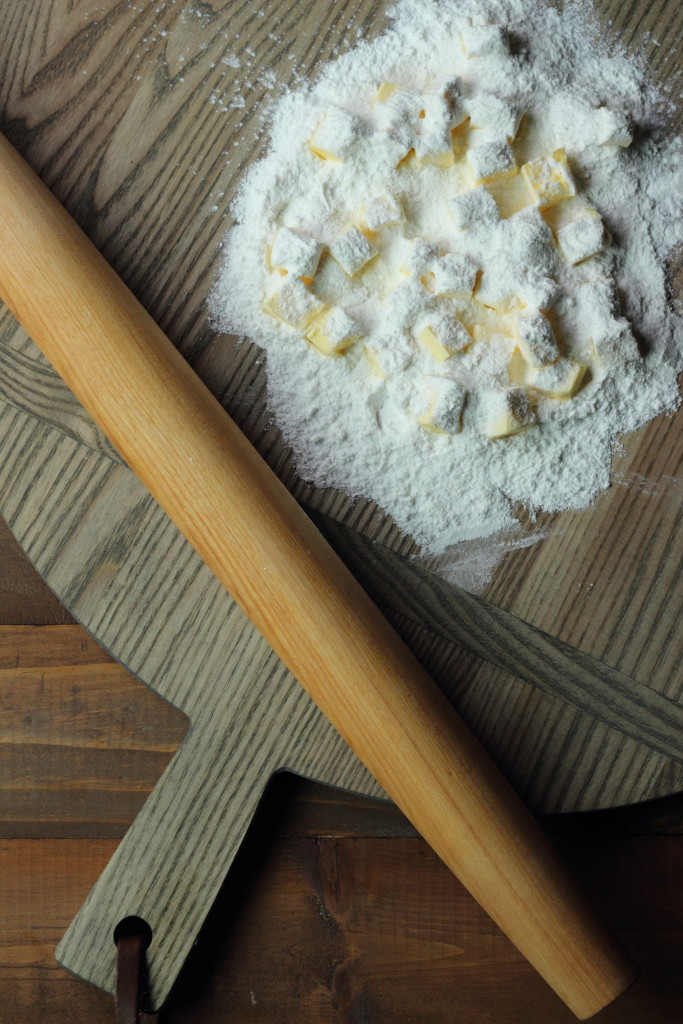
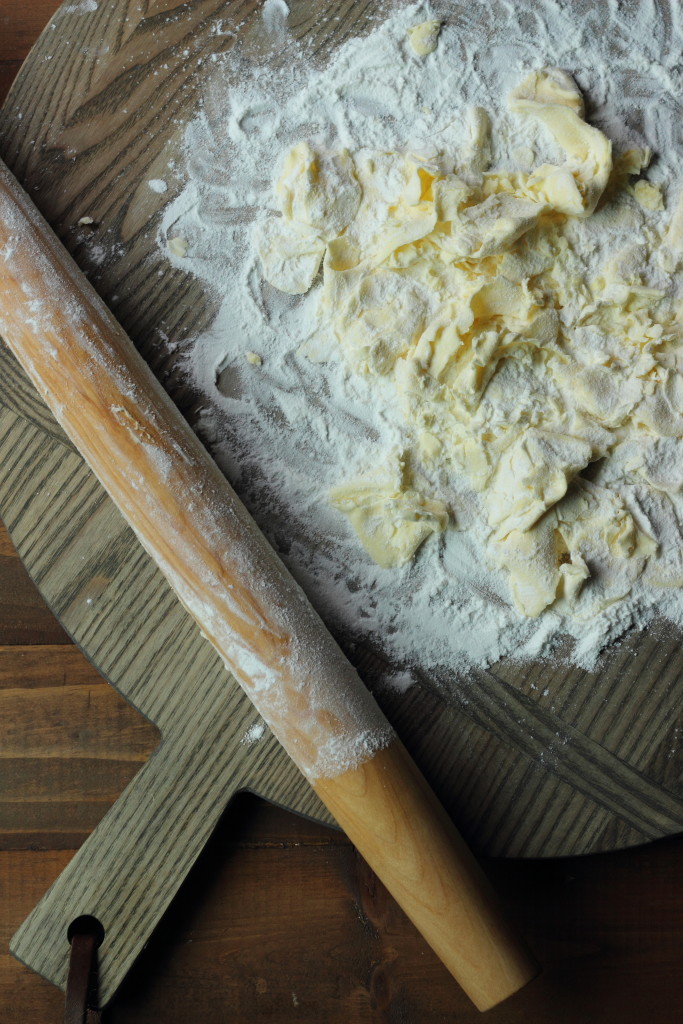
- Scoop some flour onto a cutting/pastry board, add chilled butter to flour, then add more flour on top of butter
- With a rolling pin, roll the butter cubes until they are all flat, distributing flour on top as necessary
- Gather flour and butter together with a gentle touch & scrape into a bowl, place in the freezer to chill for 5 minutes
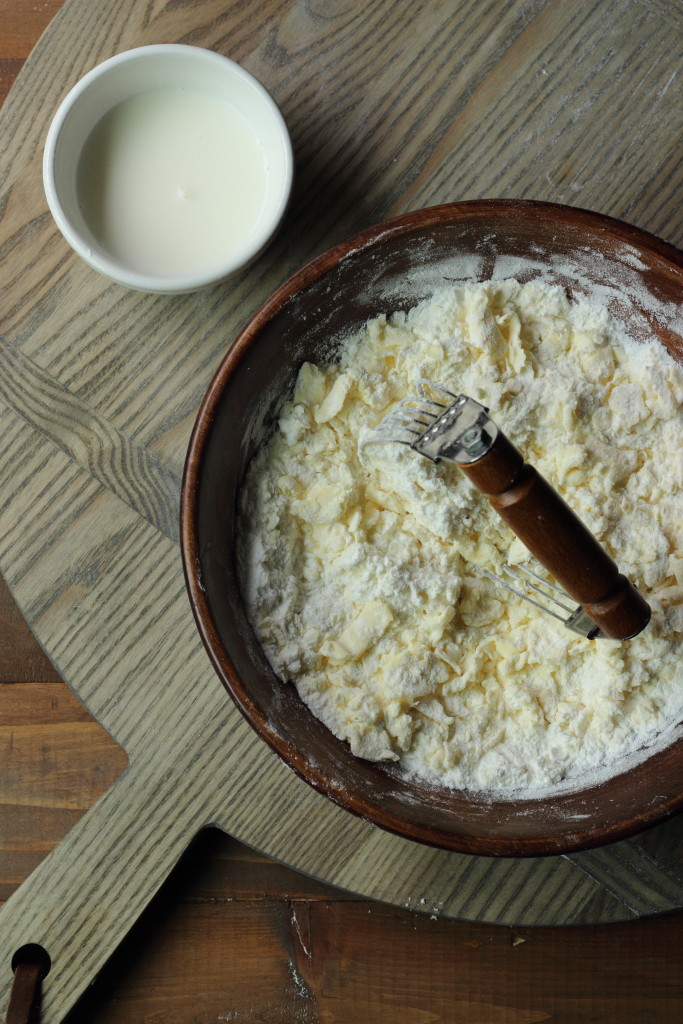
- Combine ice water, sour cream & rice vinegar together in a small bowl
- Remove flour & butter bowl from the freezer & cut butter into the flour until butter flakes are smaller in size
- Drizzle 1/2 of the liquid over flour & butter mixture and gently mix together with a fork- do not over mix (the mixture will seem dry)- drizzle the other 1/2 of the liquid & continue gently incorporating
- Gather & press the contents together into a loose ball, wrap in plastic wrap & press dough into a 5″ diameter disc
- Refrigerate dough for 1 hour
- After 1 hour has passed remove dough from refrigerator & let rest at room temperature for 10 minutes
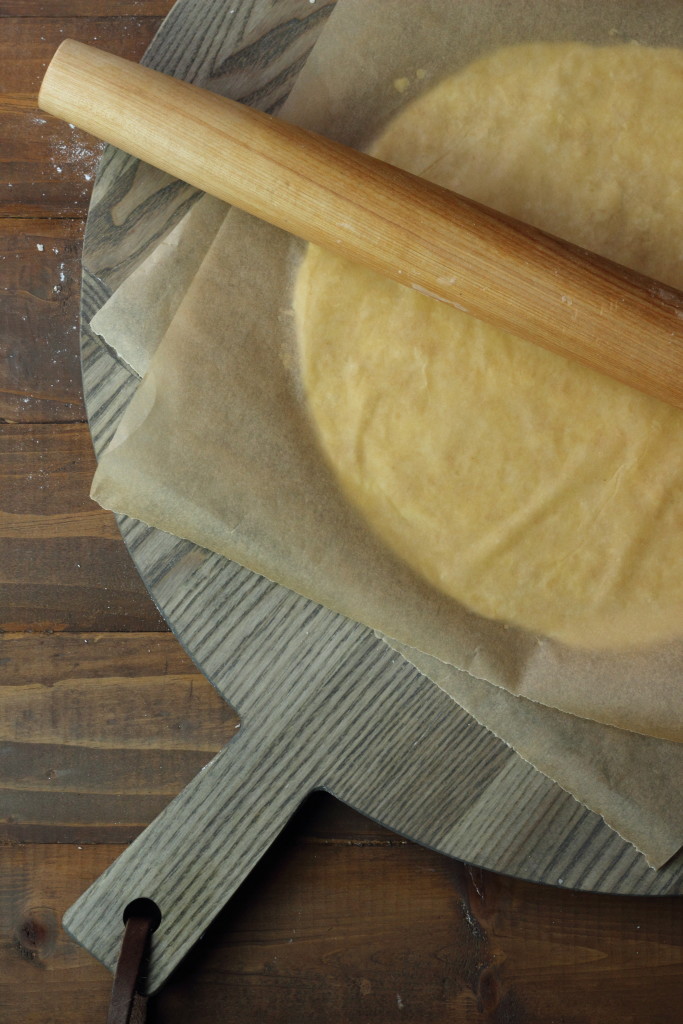
- Prepare two squares of unbleached parchment paper to roll your crust in between
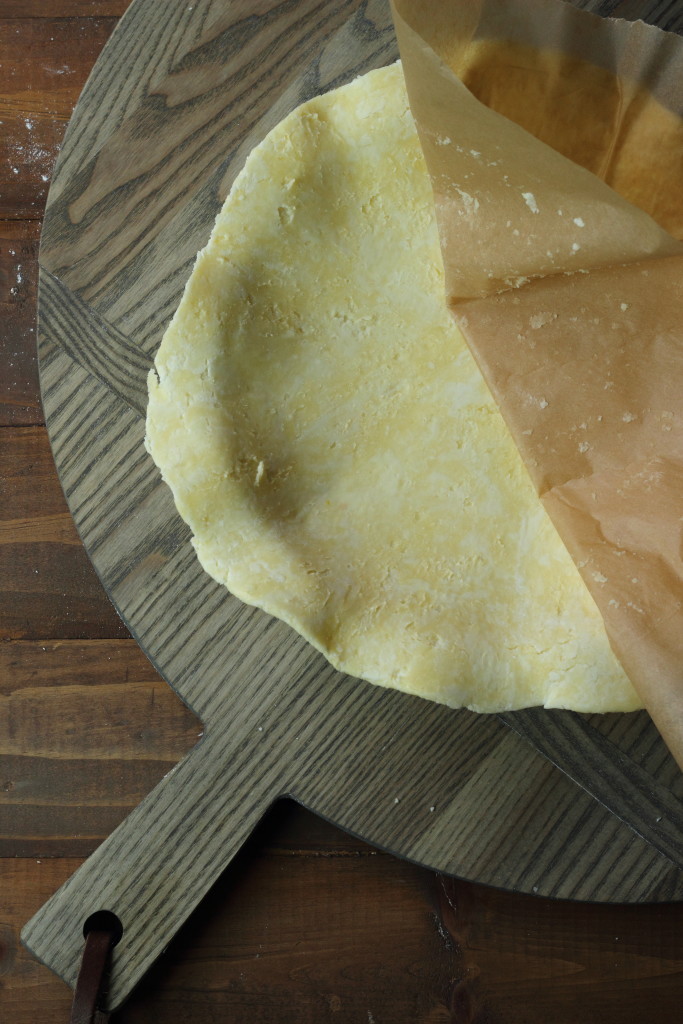
- Place dough in between two sheets of parchment & using a rolling pin, gently begin to roll dough into a disc, alternating directions of the rolling pin
- Occasionally remove the top parchment & coax the edges into a uniform circle as necessary
- Once the dough is a uniform thickness, about 11 inches in diameter, remove top parchment paper & place the dough round over your 9″ pie plate, raw dough side down
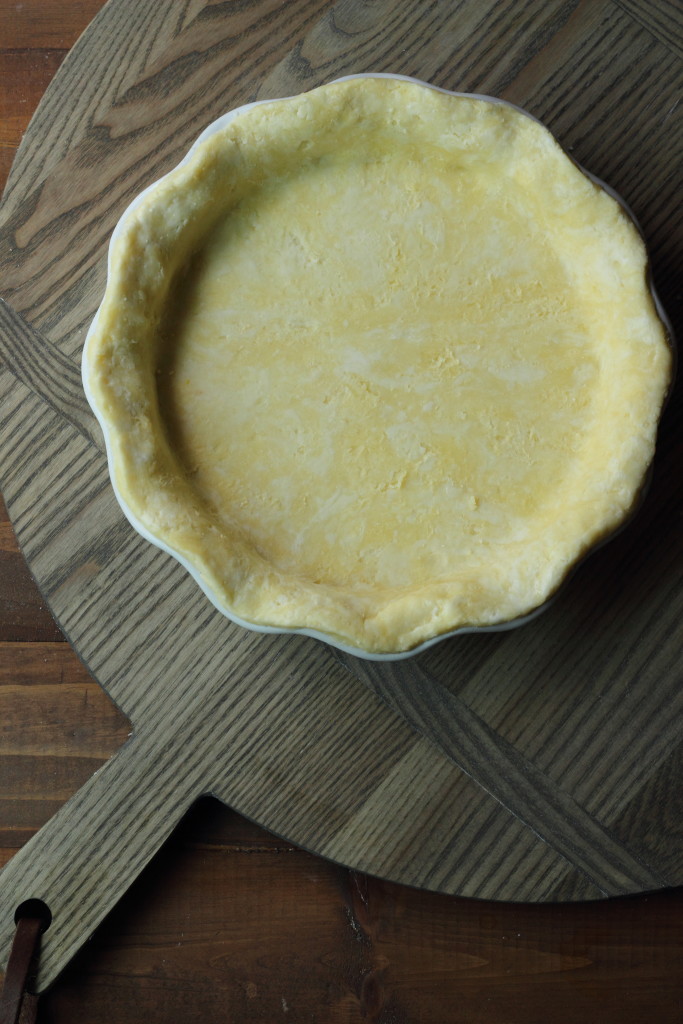
- Peel off the other sheet of parchment & gently press the dough into the pie plate
- Shape the edges of your pie crust & place the pie crust into the freezer to chill
- Pre-heat oven to 375 degrees F
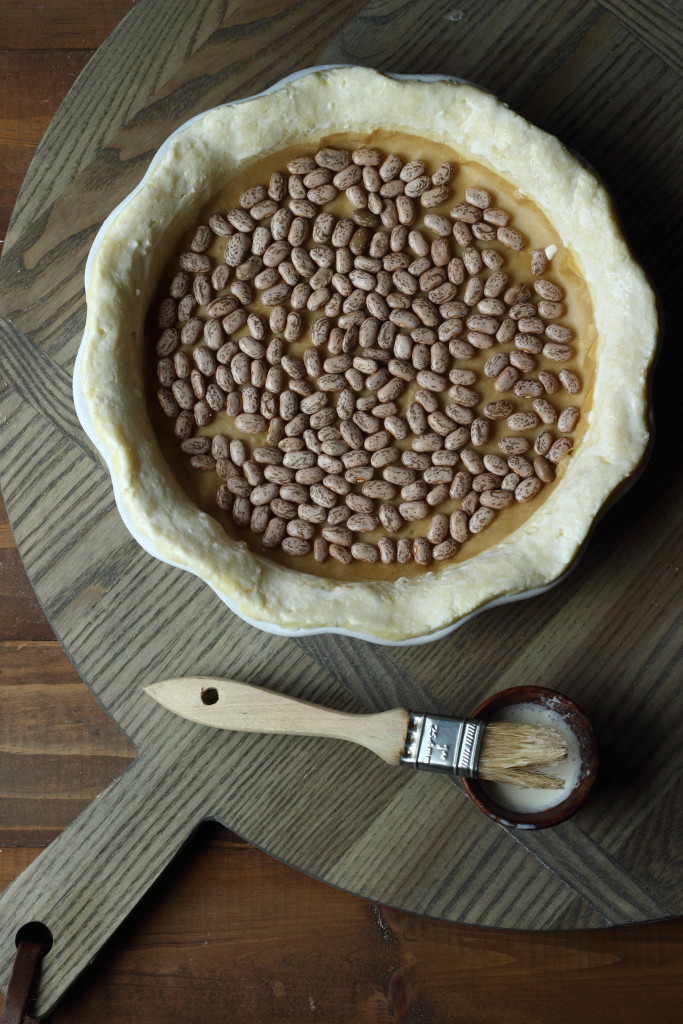
- Once oven is pre-heated, remove pie crust from the freezer, prick the bottom of the crust all over with a fork
- Place a round piece of parchment in the bottom of your crust & fill with pie weights (dried beans work well)
- Brush pie crust edge with a bit of heavy cream
- Place pie crust in the oven & bake for 15 minutes
- After 15 minutes, remove the parchment & pie weights, & continue to bake for another 5-7 minutes until lightly golden brown around the edges
- Let cool at room temperature
- Once cooled, pie crust is ready to be filled & enjoyed
Notes
this recipe can be easily doubled to make a double crusted pie-
simply double ingredients & split dough into two 5″ discs, refrigerate 1 hour & make your double crusted pie
- Prep Time: 1 hour 20 minutes
- Cook Time: 20 minutes




Is there any possibility of changing the measurements from metric to American????
I have no way of working this trough mathematically.
It would have been great that since this recipe is shown in the US it would be desirable to give it in the way we can use it.
I would love to have this recipe as my husband is a celiac patient and loves sweets.
Thank you,
Nancy
Hello Nancy,
I understand your request, however the measurements for this recipe are meant to be done on a kitchen scale- it is the only way to ensure the crust turns out perfect! I have found in my own experiences with gluten free baking that weighing ingredients makes all the difference. Kitchen scales are available online for around $20-30 and they are worth every penny when it comes to ensuring a gluten free recipe turns out right (especially since gluten free ingredients are so much more expensive & it is so heartbreaking if a recipe does not turn out)
I hope this helps!
Thank you,
bella <3
Hi Bella,
I can’t wait to try this basic recipe out. Just one question, and it may be an awkward on as every ingredient needs to be so precise. What can I use to substitute the 20g non fat dry milk power as I need a dairy free recipe?
I can have raw milk but that’s not powered.
I hope you can help. Thank you for your wonderful, whole, clean simple recipes!
Warm wishes,
Tania
Hi Tania! You can try to substitute with 20g of almond flour, it should work out just fine! Than you so much for your warm wishes! Let me know how the pie crust turns out :)