Ever since I was a small child, pistachio has always been my favorite flavor of ice cream. Little did I know, that the “pistachio” ice cream I grew up eating for most of my life did not even contain pistachios – it was green from artificial food coloring and the nuts were actually almonds. I was quite disturbed when I first realized this. How could “they” call it pistachio ice cream when there was not even a trace of pistachio in it?!
Finding real pistachio ice cream is not impossible however and I have tasted some really good ones. The only problem with ice cream is that not everyone can handle conventional dairy. Especially now a days, more and more people are having difficulty digesting conventional dairy and raw dairy is difficult to acquire. So, I set out to make a dairy free pistachio ice cream that is naturally green and chock full of pistachios – because it is called pistachio ice cream after all.
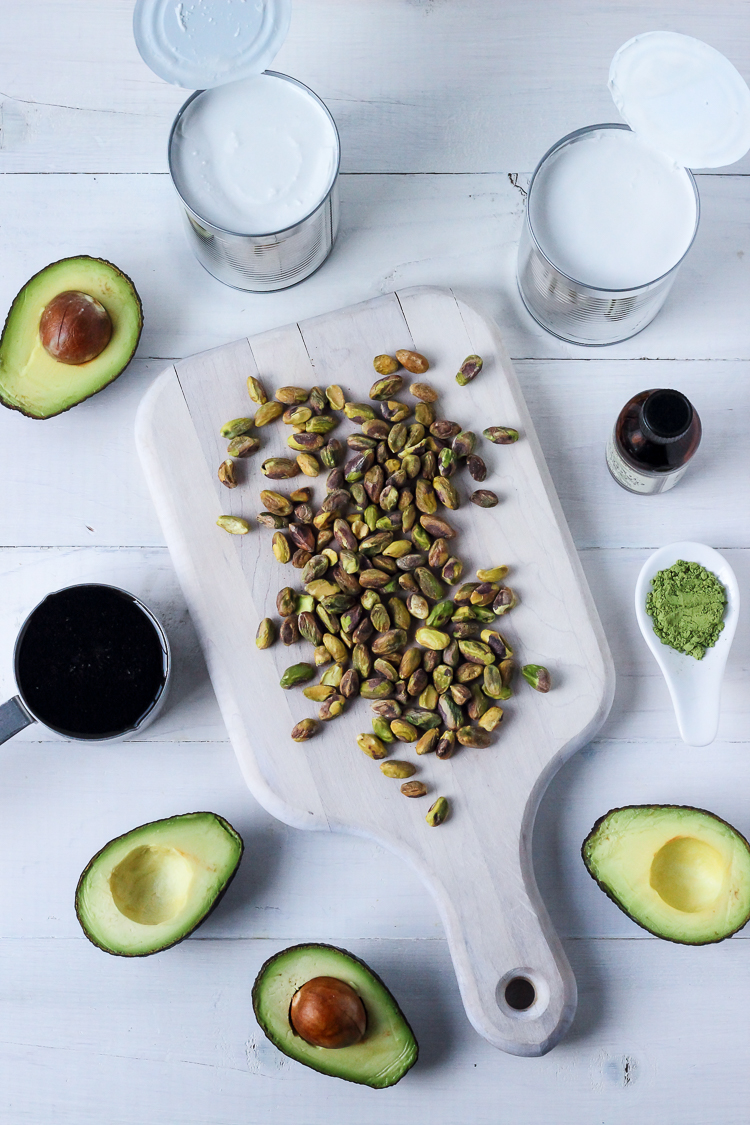
Coconut milk is a natural dairy free candidate for the base, seeing as it is loaded with healthy fat. I used this bpa free canned coconut milk in this recipe. Next we add avocados – do not let this weird you out, the avocados are very simple in flavor and serve as an additional source of fat to get our ice cream to have a really nice mouth feel, as close to dairy ice cream as possible, and they naturally tint the ice cream a slight shade of green. Matcha, fine ground green tea powder, is how we get the ice cream the perfect shade of green- so long artificial food coloring! Organic culinary grade matcha from Encha is the highest quality and is a gorgeous vibrant green. Grade B maple syrup is what we use to sweeten the ice cream – which makes it vegan, but honey can be substituted if that is what you have on hand. A touch of organic almond extract for that classic flavor found in typical “pistachio” ice cream and finally a pinch of fine grain himalayan salt to balance the sweetness.
Blend everything in a high speed blender until creamy and then churn in a 1.5 quart ice cream maker for about 20 minutes. Add in your chopped pistachios, churn a bit more and then you will have the most amazing dairy free ice cream you will ever taste. I was shocked at how delicious it turned out…I could literally eat an entire batch to myself!
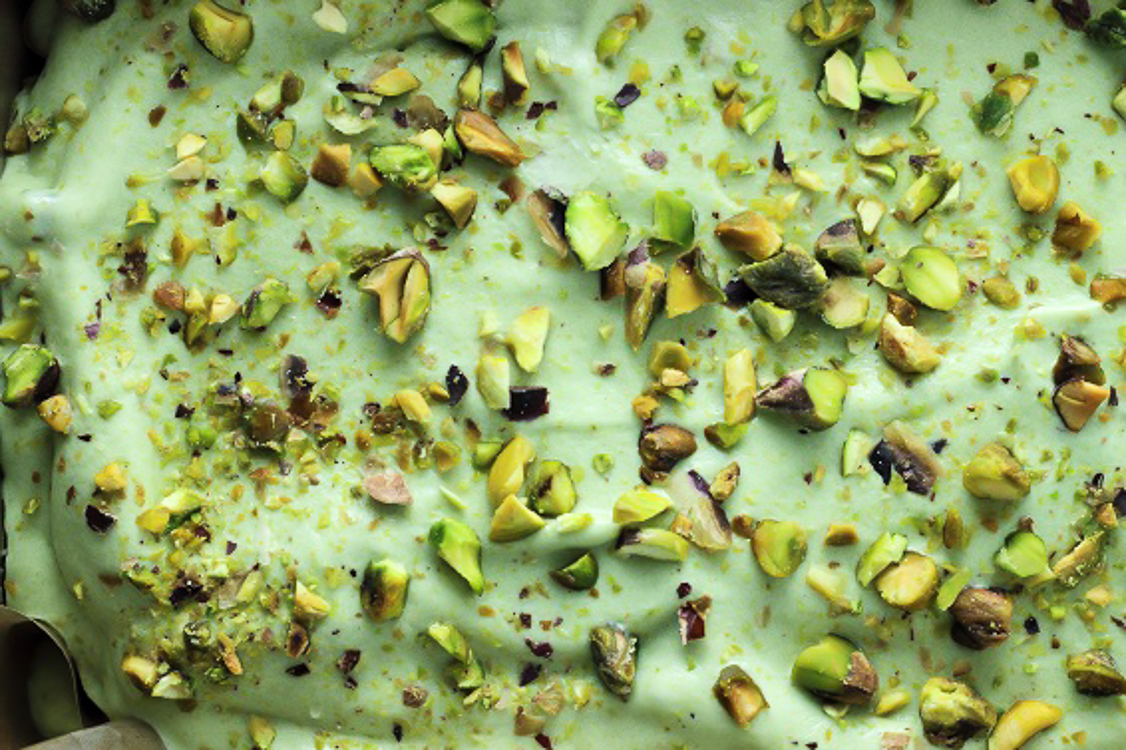
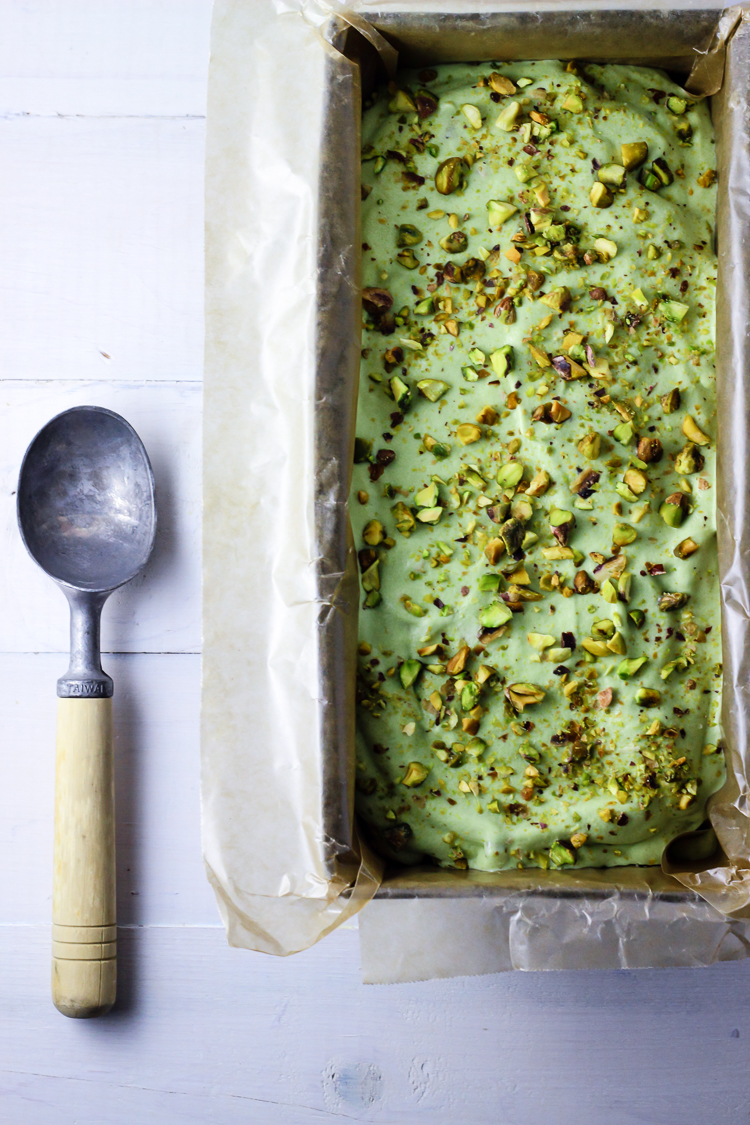
I like to sprinkle some extra chopped pistachios over the top after I serve the ice cream, because pistachios are awesome and because we are re-claiming pistachio ice cream in our kitchens by showing whoever “they” are that it is not pistachio ice cream unless it is brimming with pistachios.
 Print
Print
PISTACHIO ICE CREAM
- Total Time: 30 minutes
- Yield: 1.5 quarts 1x
Ingredients
- 2 (13.5 oz) cans coconut milk- chilled in refrigerator
- 2 just ripe avocados- chilled in refrigerator
- 2/3 cup grade B maple syrup- chilled in refrigerator
- 2 tsp encha organic culinary grade matcha
- 1/4 tsp almond extract
- 1/8 tsp fine grain salt
- 1/2 cup raw, unsalted, pistachios
Instructions
- Make sure your ice cream maker freezer bowl has been in the freezer for 24 hours
- Place cans of coconut milk, avocados, and maple syrup in the refrigerator to chill for at least 2 hours
- Add chilled coconut milk, peeled & pitted avocados & chilled maple syrup to blender (having the ingredients chilled will help the ice cream set up quicker)
- Add matcha, almond extract, & salt to blender
- Blend contents, gradually increasing speed to high, until perfectly smooth and creamy
- Set up your ice cream maker with your frozen freezer bowl
- Add blender contents to ice cream maker and churn for 20 minutes (follow instructions of your ice cream maker- this time can vary from 20-30 minutes depending on the brand)
- While ice cream is churning, lightly toast the pistachios in a dry pan over medium heat, until just fragrant, stirring often to prevent burning
- Once pistachios are fragrant, pour them onto a cutting board & let cool
- Roughly chop cooled pistachios
- After ice cream has churned for 20 minutes, add chopped pistachios to ice cream maker and churn for about another 1-2 minutes until pistachios are well incorporated
- You can serve the ice cream at this point or put it in a freezer safe container and freeze for another 1-2 hours until you have achieved your preferred consistency
- Ice cream can be stored in the freezer for several weeks (it probably will not last that long ;)
- Before serving ice cream that has been frozen, set out the ice cream container at room temperature for about 10-15 minutes until easily scoop-able
- Prep Time: 0 hours
- Cook Time: 0 hours




Now I’m unsure if I’ve ever truly had pistachio ice cream. I am excited to make this. Thank you for the recipe!
You’re welcome Colleen! I hope you try it! If you like pistachios, you will love this ice cream :)
let me know how you like it!
<3 bella
Hi, this looks so inviting (and exciting).
Just wondering how one would go about making this in a thermomix? I don’t have a churner..
Thanks :-)
Hi Hooria – you can try using a food processor if you have one, or maybe even a food mill, you need something to thoroughly combine the avocado with the coconut milk :)
This looks delightful! Would bananas or something else be good substitutes for avocados (intolerance reasons)?
Thanks!
Hi Sam! I am sure you could try substituting bananas, it would change the flavor of course, but should still have a great texture!
In love with this green color!
Thank you! Green is my favorite!